Tuesday, November 21, 2017

FT Simple Scout Snoopy Edition


When I saw this plane on FliteTest page I have said to myself that I have to make one.

Awesome looking plane, just like some WWI fighters. And of course, I had to add something....

I am not an FPV guy, I prefer watching the plane while it flays.

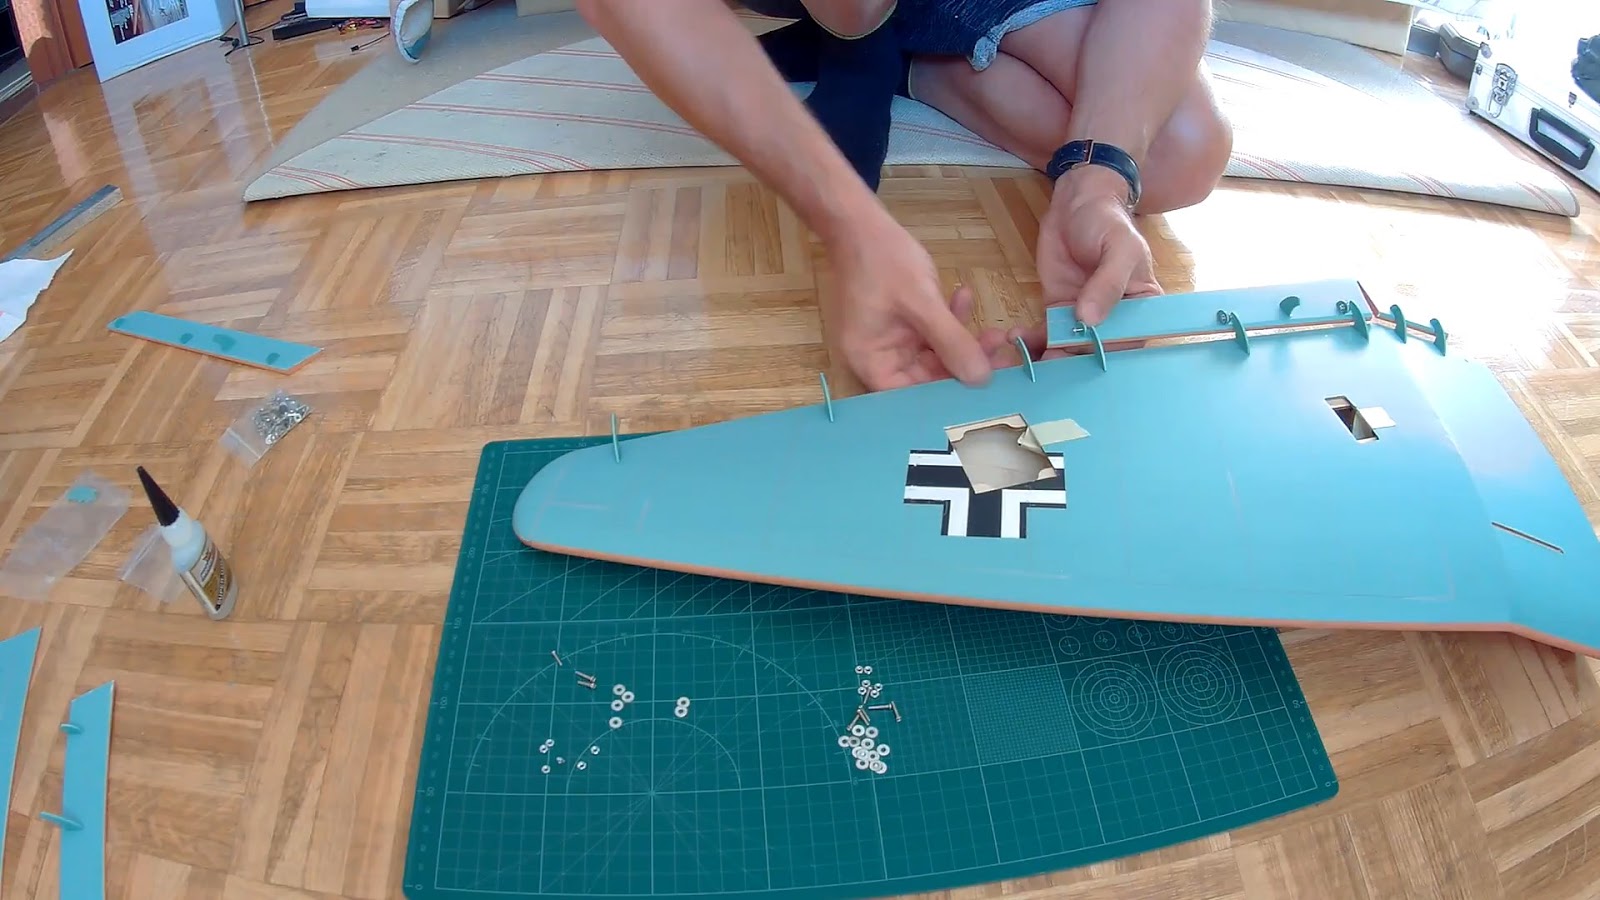
Whole plane is made from white depron boards and it was finished quite fast, within 4 afternoons of easy work. Since I use white depron, I have multiple choices of painting this nice bird. This time I have used standard red covering film (non transparent) to cover the wings and almost whole fuselage.

Procedure on how to cover depron with standard covering film is explained in one of my previous articles.

As I have mentioned , I am not an FPV fan, and that space is great for adding a pilot. Which one should I choose ?

Friend of mine has borrowed me his 3D printer and decision was made. Snoopy. And of course, Snoopy needs a machine gun too. Vickers machine gun from WW1 suits him just fine.

Nose of the airplane was a bit ugly for me, so i had to cover it with something. Measured everything and drew radiator cover for the nose to print on 3D printer. Also, tail skid is 3D printed and there is no need for additional bamboo stick.

Dummy engines are 3D printed as well and hot glued on fuselage covering.


And final touch, Xenon LED strobes + red and green LED strip at wing tips (no photos of that, sorry).

Those strobes are excellent, highly visible during daylight, and I would recommend them for all types of flying vehicles. They are a little bit bigger than standard LEDs but if you have space put them on.


And finally, my setup (all links are from Banggood):

Motor: D2830 1000KV: https://goo.gl/pydA3z

ESC 20A: https://goo.gl/69pNzf

4x TowePro 9g servo: https://goo.gl/uSV9fb

propeller 9x6: https://goo.gl/KJiP8Z

Xenon strobes: https://goo.gl/V6NkZb

Battery 1300 mAh 3S 35C


For 3D printing:

Front radiator, tail skid and dummy engine: https://www.thingiverse.com/thing:2658206

Vickers machine gun (scale it to 30 - 50 % as you like it best): https://www.thingiverse.com/thing:1499433

Snoopy (scale it down for your needs): https://www.thingiverse.com/thing:2406162

Maiden flight was great on very cold and foggy day:


Tuesday, November 14, 2017

HJ Digital Servo Tester/ESC Consistency Tester

Well, everyone in RC hobby needs one.
This one has 4 outputs and if you use Digital servos, 2 digital modes of operation (and one analogue of course).
So no matter if you are testing servos or ESCs, this handy device will help you determine issues with your equipment .

Link to product : https://goo.gl/K4T7hk


Thursday, October 19, 2017

AKK X2 5.8GHZ VTX FOR VERY LONG RANGE

This company publishes new products almost every 2 weeks, and I have received their new VTX which is loaded with new features.
Let's talk first about specifications. Mine came with RPSMA female antenna connector (there is a MMCX version too), standard 40 channels , 25mW/200mW/500mW/800mW power switchable and 7-24V input that provide 5V output for your camera.
Weights only 7 grams without antenna and cable, and small enough to put it on any type of vehicle
New feature is Smart Audio port which allows you to change channel band and frequency and even power output via your BetaFlight OSD controller (and radio of course). If you do not have that type of controller, you can change manually all parameters with button on the VTX. 7 segment LED display shows which band is in use , number of channel and power output mode.
Another feature is PitStop mode.
What is that ? Well, for FPV racers it is good thing, when you want to change channel frequency, you put it in pitStop mode. That mode transmits with very low power output (around 0.1mW), and if you accidentally enter channel that someone is using at that moment on the race track, he won't loose his picture because of that very low output. You will see your picture but on very short range due to low output (but probably you will see someone else's picture if you enter same frequency). Excellent feature for FPV racers.
First impressions and manual setup is explained in this video:

Time to test picture quality and range. Since this VTX doesn't come with antenna, I have used FatShark antenna for VTX and Eachine EV800D googles from Banggood with their original antennas. So nothing special, no special antennas, filters, or ground station. Everything stock on Eachine googles. These googles have DVR too and I have recorded whole flight with it. I can recommend these googles for excellent picture, DVR, built in battery and splittable designt that allows you to use it as a googles or as an LCD display mounted on your radio/tripod. LINK to Eachine googles.
And what did I get ? 4 kilometres of range without any problems using 800 mW output. That is awesome, more that I will ever need. 


So if you need excellent and lightweight VTX for your FPV projects, with different output modes to suite regulations in various countries, I highly recommend this one from AKK.

Wednesday, September 13, 2017

H-King Junkers Ju-87B-2 Stuka 1400mm (55") ARF


This is ARF kit and demands some knowlege and a lot of patience.
So let's start.

First is the wing, I would suggest you that you read manual very carefuly, count those hinges, they are different for flaps and ailerons. Also, be careful with static flaps, flaps and ailerons since there is left and right side ones.
Test fit everything before gluing.

Hinges are glued with CA glue. Each slot is cut for particular hinge type, but as said before, test fit hinges before gluing them.

Control surface hinges are all the same and you can't miss there.
When glue dries, mount control surfaces to hinges using M2 macnine screws provided. Use loctite on your bolts and don't tight too much those bolts, control surfaces need to move easily.

I would suggest that at this time you insert servo extension leads in both wings and fix them with some masking tape.

Mounting landing gears is easy, I used 5 min epoxy for wooden blocks that come into landing gear cowling (manual says use CA, it's up to you).

Prepare all the screws needed and mark position for them. Landing gear struts fit easy into the wing.

Again, manual says that you should use CA glue to close landing gear hatches, but this time I used just some piece of tape in case that I would need to open them.

If you haven't inserted servo extension leads before, do it now.

Glue main wing together with epoxy glue and let it dry.


Fuselage is much easier to assemble, just be careful to insert elevator control first, then horizontal stabiliser through fuselage slot.
I used 5 minute epoxy for gluing horizontal stabiliser.
Insert CA hinges and connect elevator control surface and glue it witg CA glue.

Rudder control is also easy one, first glue with CA tail wheel landing strut (check fit before doing that) and then using CA hinges glue the rudder to the vertical stabiliser and screw tail wheel bracket to the fuselage.

Horizontal stabiliser support is glued to the fuselage (you need to measure and cut the slot with hobby knife) and screwed to the stabiliser.

Slide the push rods for elevator and rudder and screw ball link clevis on them. Connect clevis to the control horns with M2 machine screws and secure with loctite.

Mount main wing on the fuselage with provided screws.
There is one last thing to do, bottom wing cover that is made of very fragile plastic. You need to cut that plastic with hobby knife at marked lines that are barely visible and glue it with CA to the wing.

Again, I didn't use CA but just standard transparent tape.

And that is it. Now you can install electronics of your choice.

My setup:

Motor: RCTimer BC3548-6 790KV Outrunner Brushless Motor
ESC: HobbyKing 60A ESC 4A UBEC
Servos: Corona DS329MG Digital Metal Gear Servo 3.8kg / 0.11sec / 32g
Propeller: 11x7 wooden propeller
Battery: 4S 4000 mAh LiPo


With this setup I have around 10 minutes of flight.

Maiden Flight
Nothing to say, everything is in the video

Please support my blog by using these affiliate links:
Banggood: https://goo.gl/cn1B2P
Gearbest: https://goo.gl/D2pTdJ

or become a patron at https://www.patreon.com/RcFlyAddict


Monday, September 11, 2017

AKK K33 40CH FPV Audio Video Transmitter

As with all AKK equipment received in past couple of months, this one comes well protected in the box.
What can you find in the box is the transmitter, standard stick antenna, connecting cables and short manual.


Transmitter itself has 2 buttons and 2 LED 7 segment displays which are really bright.
Weighting only 8.1 grams without antenna and cables it is suitable for any application like mini quad, RC airplane, flying wing etc.
Antenna connector is placed on the top of transmitter (there is a version with side antenna mount called K22) and it has standard 40 channels transmission divided into well known bands A,B,E,F and R.
Frequency chart is provided in the manual.
Changing band and frequency is really easy with provided 2 buttons on the side of the transmitter itself. One button changes band which is displayed on the first LED while second button changes frequency on that band and is displayed on the second LED display as a number from 1 to 8.
And that is it, select your preferred channel and you are good to go.

Transmitter also provides 5V output for your camera, so you don't need extra power supply for camera.
Working voltage of the transmitter is from 7V up to 20V, that means you can power it with LiPo battery from 2S up to 5S.

Power output is not stated anywhere, just range of up to 3000m. According to that data, I assume that it is 600mW transmitter.

I have connected AKK CA20 camera to the K33 transmitter and picture was excellent.

Also one important thing specially if you going to use this transmitter in the racing quad is latency.
Tested the latency and I couldn't see any delay in the picture (Check part 1 video).


For flight test I had to wait couple of days until weather cleared, but when sun came out I took it to the airfield and mounted to my old BB-J3 Cub RC airplane.

I have used stock stick antenna and had no issues during flight, picture was clear and with minimum or no interference at all.
Highly recommended.


Link to product: https://www.akktek.com/products/vtx/akk-k33.html?acc=43ec517d68b6edd3015b3edc9a11367b

Specification:
Video Format: NTSC/PAL
Output Impedance: 50 Ohm
Transmitting distance: > 3000m (open area)
Antenna connector: RP-SMA connector
Operating Voltage: 7-20 V
Output Voltage(VOUT): 5 V
Supply current: 280 mA
Operating Temperature: -10 +85 ℃
Video Band Width: 0-8.0 MHz
Audio carrier Frequency: 6.5 MHz
Video Input Level: 0.8,1.0,1.2 Vp-p
Video Input Impedance: 75 Ohm
Audio Input Level: 0.5 ,2.0 Vp-p
Audio Input Impedance: 10K Ohm

Please support my blog by using these affiliate links:
Banggood: https://goo.gl/cn1B2P
Gearbest: https://goo.gl/D2pTdJ

or become a patron at https://www.patreon.com/RcFlyAddict

Friday, September 1, 2017

AKK A5 FPV AIO split system

There are a lot of similar products you can find in various Chinese shops, I had one that is not split system couple of months ago and was not happy with it.

This little thing really surprised me. Why ?

Well, let's start.

Most of AIO systems are in one piece. This is split system meaning that VTX is separated from the camera.
Though non split systems are good for micro quads, if you are planing to use FPV on micro airplanes like UMX series from Parkzone, that could be the problem.
Those micro airplanes are very light and adding AIO FPV on them will change the CoG of that airplane, so flying will be almost impossible.
That is where this split system comes. You can put a camera on the nose and move VTX little further away to have correct CG on the plane.

Or maybe you want your camera to be inside canopy and VTX outside.

Another problem with system that are all in one piece might be that you would like to add OSD.
OSD comes in between of camera video signal and transmitter, and since  they are all in one piece, soldered together, you can't insert OSD in between.

This little thing comes as OSD ready, that means that if you want to install OSD on this FPV system, all you have to do is to cut yellow loop cable and connect your OSD.
Excellent solution.


And not to forget, this is 40 channel camera, you have a small button on VTX for changing channels and band, all instructions are in provided manual.

Now the picture quality.
For a such small device , image quality is excellent.
Since this is 25 mW transmitter as with all micro systems, range is (claimed by manufacturer) 150 meters.

And here goes the big surprise

I got nice and clear picture up to 400 meters LOS with that little thingy and Eachine diversity googles.
That was big surprise for me, because my previous micro FPV system was loosing picture after 150-200 meters LOS.

Something about the battery.

You can use any 1S LiPo battery for this FPV system, it comes with adapter for standard 1S battery connectors, and default is E-Flite/Parkzone connector.
With 150 mAh 1S battery you can have around 8-10 minutes of video transmission.
This device really is low consumption.

Enough typing, I have recorded unboxing, hooking up and flight, so here it is:


Link to product:

Specifications:
Output power: 25mW
Input power: 3.3V–5.0 V 
Current consumption:3.3V-5V, 350mA
Camera resolution: 600TVL
Range: 150m
Video system:NTSC
Mini illumination: 1 lux
Field of view: 120°viewing angle
Antenna: Dipole brass antenna
Frequency: 5.8GHz 5 bands 40 channels, with Raceband: 5725-5875MHz
VTX Size: 19*14mm(L*W)
Camera Size: 14*14mm(L*W) 

Please support my blog by using these affiliate links:

or become a patron at https://www.patreon.com/RcFlyAddict

Saturday, August 19, 2017

AKK CA20 camera and TS5828 VTX


Let's try something new.

I just got AKK CA20 camera and TS5823 VTX at a unbelievable price (camera is 20$ and VTX 10$).


My expectations for such low cost camera was not big, but this little thing surprised me with OSD and bunch of features (some of them I still do not understand well). 
With the camera you also receive a bunch of connecting cables and one with small controller for setting the camera features (a lot of them)-

Manual is really basic, and that is the only minus for this product. I would love to see better manual with explanation of all features that camera provides.

Lightweight camera (12.4 grams only) can operate from 5V up to 22V (so you can take power even from your receiver) and has an excellent picture and nice colors .
It is 600 TVL NTSC standard and manufacturer claims that there is 1/3" SONY SUPER HAD II CCD,Nextchip 2040 DSP in it.
According to quality of picture, it sure is.

Link to product:
https://www.akktek.com/products/cameras/akk-ca20.html?acc=43ec517d68b6edd3015b3edc9a11367b


TS5828 VTX


This is 32 channel VTX (quite enough for my needs, but if that is not enough for you they have 40 CH versions) and 600 mW output comes with standard stick antenna and a bunch of connection cables. one of which is for connecting sports and action cameras (like Mobius).
Only 7.1 grams and with operating voltage from 7V up to 24V it will suite all of your needs. 
VTX is suitable for video and audio transmission-

There is one sheet manual and frequency explanation on the box, and it is so tiny that is very hard to read. That is the only minus of this product, no clear manual (like with camera).
Picture of VTX manual is attached.

Link to product:
https://www.akktek.com/products/vtx/akk-ts5828.html?acc=43ec517d68b6edd3015b3edc9a11367b

Please support my blog by using these affiliate links:
Banggood: https://goo.gl/cn1B2P
Gearbest: https://goo.gl/D2pTdJ


or become a patron at https://www.patreon.com/RcFlyAddict

Part 1 of the review


Part 2 of the review


Featured Post

How to setup dual ailerons and flaperons with Spektrum DX6 DX7 DX8 DX9 DX18 radio

Easy setting up ailerons in three different ways with Spektrum radio explained. Each way depends on your airplane setup and each way has its...